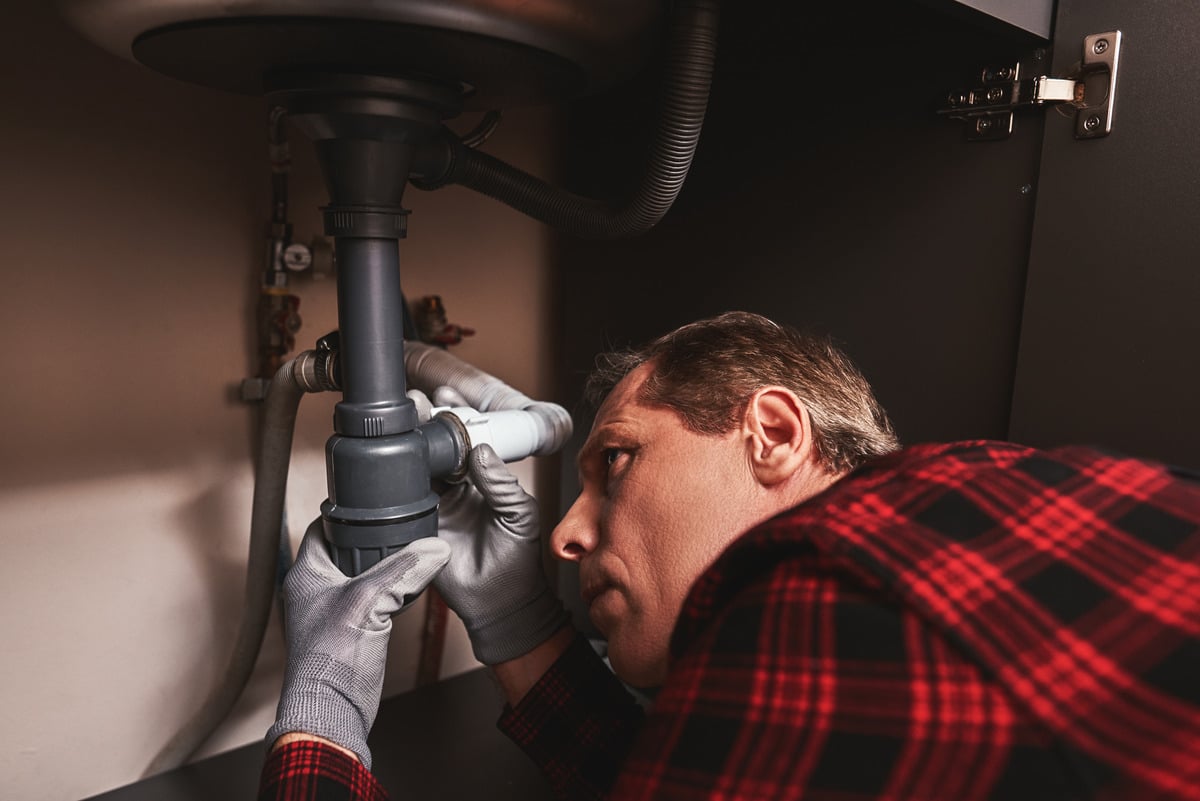
Fractures, bursts, clogs, or leaks can become costly repairs and replacements without quick intervention. If the problem occurs in a crawl space where access requires excavation or advanced machinery, professional intervention may be necessary to contain escalation. Crawl space water repair and replacement require expertise for effective implementation.
Every second counts, as problems in your water line can dent your pockets. From breaking your plumbing infrastructure to destroying the integrity of your drywalls, floors, and foundation and spreading contamination, acting swiftly is essential. Here are comprehensive strategies plumbers use to replace and repair faulty crawl space water lines.
Table of Contents
- How to Repair Crawl Space Water Line
- What is the cost to Repair Crawl Space Water Line?
- Work With Certified Plumbers to Repair and Replace Your Water Line
How to Repair Crawl Space Water Line (Step-by-step Guide)
First, you need the appropriate gear for protection. Water line issues may result in leaks, which can breed mold and mildew on your drywall and floors over time. Inhaling the spores can trigger acute respiratory illnesses, severe headaches, and allergies. The situation can worsen if your crawl space has inadequate ventilation, increasing spore concentration at the worksite.
You will also need light if the space doesn’t have ample illumination. Consider a headlight to light up the area for seamless repairs and replacements. 
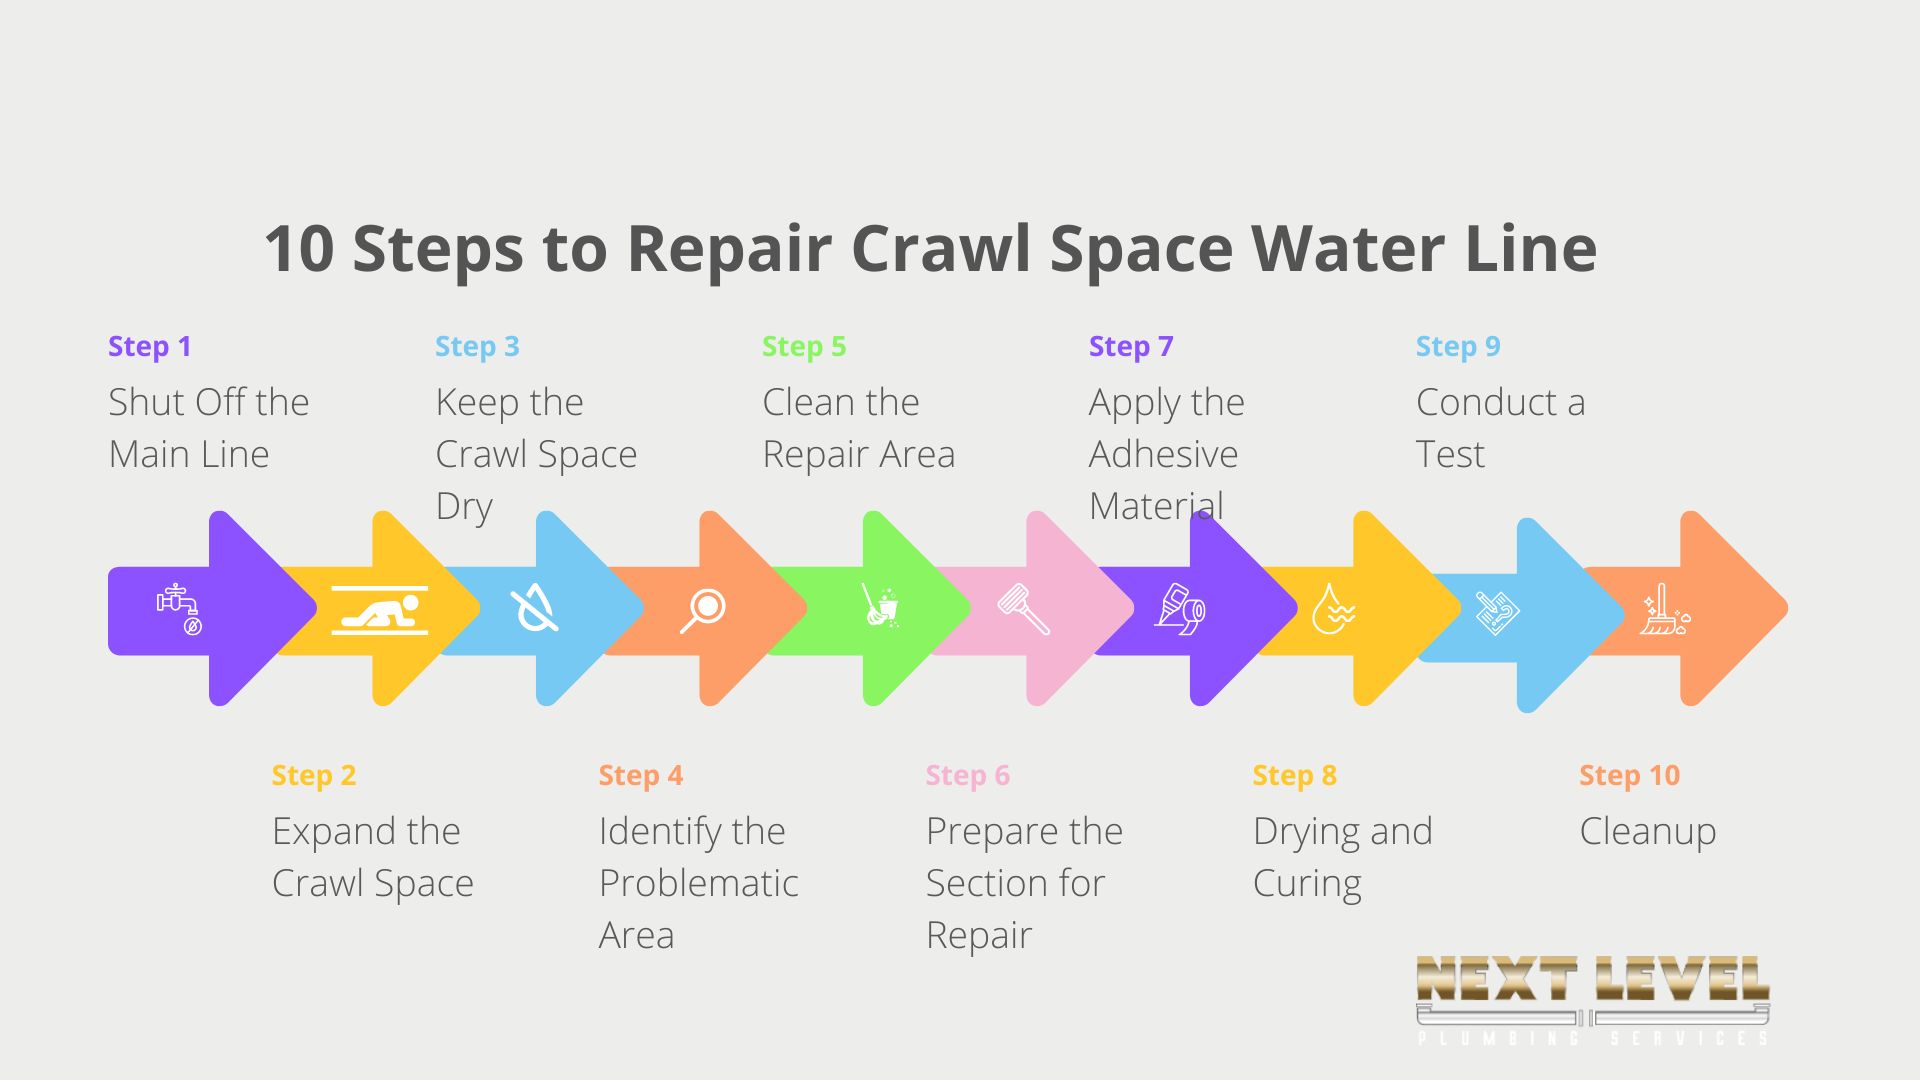
1. Shut Off the Main Line
Every rehabilitation project begins with closing the main water line to prevent further leakage. Every water line has a gate or ball valve located outside near your water meter or in the basement where the pipeline enters your property.
You can also check the garage near your exterior space or the crawlspace. If you can’t stop the water flow due to a defect in the municipal line, call your local water department immediately.
2. Expand the Crawl Space
A crawlspace often has space limitations. It may be impossible to access the area without breaking down your drywall. Assess the drywall for mold, mildew, wetness, or any other sign that can help you diagnose your water line.
3. Keep the Crawl Space Dry
Drain any standing water in the crawl space once you shut off the main valve. Use a bucket to collect the water from the pipe to keep the working area dry. Clean any remaining spillage with mops and towels to prevent water damage.
4. Identify the Problematic Area

Water line inspection precedes repairs and renovations in any plumbing project involving existing infrastructure. Now that your pipeline is free from running water, it is time to examine the walls for cracks.
Look inside for blockages and structural compromises, such as corrosion or wear and tear. Your inspection is essential because it will help you develop a lasting crawlspace water repair solution for the identified problem.
5. Clean the Repair Area
Once you have identified the damaged area, prep it for repair by cleaning it thoroughly. Remove dust, dirt, and debris. Ensure the pipe looks as good as new. Impurities on the surface of the pipe or inside can cause contamination and interfere with the binding of the fixing material.
Cleaning also exposes the damaged area, enabling you to see the extent of the damage and determine if it is worth fixing or requires replacement. If the section is beyond repair, it may be better to replace it.
6. Prepare the Section for Repair
Start by polishing the area with sandpaper to allow the adhesive material to stick to the surface. Use a rag to wipe the pipe and clean the sanded area to remove grit.
If the damaged section is unsalvageable, replace it. Unscrew the nearest pipe connectors to remove the defective pipe. Take the pipe to a hardware store to buy the exact size.
Connect the new pipe to your water line if the cut fits. If it’s bigger, trim it to fit the space. Solder the pipe to secure it to your pipeline. Sand the old pipe to boost its adhesion to the new conduit piece.
7. Apply the Adhesive Material
Manufacturers provide instructions on how to apply the adhesive material. Follow the steps carefully to prevent damage due to uneven pressure distribution or improper sealing, which can cause leaks. Ensure to cover the damaged area thoroughly.
Apply the adhesive material, ensuring it completely covers the pipe. This material replaces the worn-out section, so be generous in your application. Ensure no air or foreign particles between the old pipe and the adhesive material. The two components should fit like a hand in a glove. Wipe away any excess adhesive once you are satisfied with the installation.
8. Drying and Curing
Allow the compound to cure or dry, following the manufacturer’s instructions for the required time. For optimal results, you may need to wait several hours or overnight. Keep the area undisturbed during this time, and avoid turning on the water. Ensure the area remains dry.
9. Conduct a Test

Your work is complete when there is no leakage at the repair site, and the water flow is normal when you turn the main valve back on. If leaks persist, it may be time to contact a certified plumber for crawl space water repair.
10. Cleanup
Repair your drywall or floors if you had to knock them down to access the damage in your pipeline. Be mindful of adjacent utility lines and work around them carefully to avoid further damage. Finish by painting and cleaning the area. Ensure the site remains dry.
What is the Cost to Repair Crawl Space Water Line?
The cost of repairing water in a crawl space ranges between $500 and $3,000, depending on the extent of the damage and other services. If the space is limited and wall demolition is necessary to access the damaged part, the cost will be high.
Crawlspaces hardly receive sunlight or adequate ventilation, increasing their susceptibility to cold temperatures. Your water line is most vulnerable at this point. It can freeze, creating water pressure variations with adjacent regions, leading to small or large fissures along the pipe. You can prevent costly repairs by insulating your crawlspace to maintain temperatures, especially in cold seasons.
Work With Certified Plumbers
Repairing or replacing a water line in a crawl space requires expertise, experience, and expensive plumbing resources. You may not be versed in making all the professional decisions, such as breaking down drywall to maximize accessibility space, maneuvering around other utility lines, and eliminating mold and mildew. Hiring a certified plumber removes the bulk of these responsibilities.
At Next Level Plumbing Services, we offer cost-effective crawlspace water line repairs at considerable cost. We employ trenchless technology for comprehensive inspections and diagnoses. Our plumbers ensure every inch of your pipeline is problem-free. Our solutions provide an additional layer of protection to your pipeline in crawlspaces, guaranteeing efficiency in water flow. Call us today at 650-532-4866 for assistance.

